Upload data using the OSDF
Abstract
In this guide, you'll learn
- the basics of uploading data via the OSDF
- how to authenticate your access
- how to confirm the upload was successful
The exercises in this guide assume that you have installed the Pelican CLI client on your device. If you have not, see the Set up Pelican guide for instructions.
What's your namespace?
For the exercises below, you need to have "write" access to an OSDF namespace connected to CILogon. Whoever directed you to this guide should have provided the necessary information.
If you were not directed to this guide, then the exercises almost certainly will not work. You're welcome to read on, though!
Command syntax
To upload data, use the pelican object put command.
The syntax is
pelican object put <local_object> <osdf_path>
where <local_object> is the name or path to a file on your device,
and <osdf_path> is the location in the OSDF that you want others to use to download your data.
For example, the following command would upload the contents of test.txt and make it available under the address of osdf:///pelicanplatform/test/test.txt:
pelican object put test.txt osdf:///pelicanplatform/test/test.txt
To run this command, you must verify with the OSDF that your identity has permission to add data to the specified namespace. See About namespaces to learn more about permissions.
Setup test upload
First, create a file to upload as a test.
-
Using a Linux or Mac terminal, run
echo "Testing upload to the OSDF" > upload-test.txt -
Using a Windows Powershell terminal, run
notepad.exe upload-test.txtto launch the text editor. Add the desired contents, save, then close.
Next, decide where in your OSDF namespace you want to make the file available.
- use a
test/prefix within your namespace - use some form of versioning in the object name
For example:
osdf:///YOUR_NAMESPACE/test/upload-test.01.txt
Why use versioning in the name?
This is largely due to the caching system used by the OSDF - the system assumes that the object in the cache is the same as the object in the origin for a given address.
If you upload a different object to the same OSDF address, a client that tries to download the object could receive
- the old version from a cache
- the new version from the origin
- some combination inbetween (!)
For more information, see Caching and immutability.
Warning
Before you start uploading your actual data, you should
- Finish this guide (!)
- Read the Sync your dataset guide
Test upload
Now that you are ready, run the following command:
pelican object put upload-test.txt osdf:///YOUR_NAMESPACE/test/upload-test.01.txt
Warning
Make sure you change YOUR_NAMESPACE to your namespace!
Otherwise, you'll get an error like this:
ERROR[2025-09-24T16:28:56-05:00] error while querying the director at
 https://osdf-director.osg-htc.org: 404: No sources found for the requested path:
 no origins found for the requested namespace '/YOUR_NAMESPACE/test/upload-test.01.txt':
 Request ID: 7f9e370a-98a0-41db-801b-5c3fd42791d1
Authenticate upload
The first time you run a pelican command that requires authentication, you will see this message:
The client is able to save the authorization in a local file.
This prevents the need to reinitialize the authorization for each transfer.
You will be asked for this password whenever a new session is started.
Please provide a new password to encrypt the local OSDF client configuration file:
Choose a password that you feel is secure and easy to remember. The password is used only to unlock the configuration file on your device and will not be transmitted.
Once you've entered your desired password, you'll see something like this:
To approve credentials for this operation, please navigate to the following URL and approve the request:

https://<issuer_URL_for_your_namespace>/scitokens-server/device?user_code=<some_unique_code>
Open the URL in any web browser, even one that is not connected to the device that you are using. You'll be directed to a CILogon webpage and prompted to login.
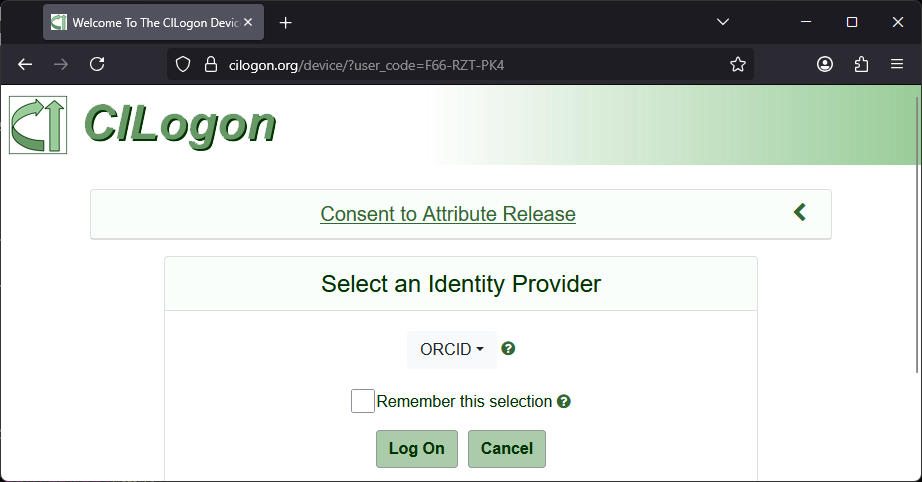
Make sure to select the appropriate identity provider for accessing your namespace. Typically, this is the same identity provider you used when you registered in COManage.
Click the "Log On" button.
Tip
We recommend that you do not click the "Remember this selection" box until after you've done several successful authentications. It can be tricky to "undo" this box, so it is best to make sure everything is working first!
You'll be re-directed to login with the selected identity provider. For some institutions, the identity provider may recognize your browser session and automatically log you in.
Once you've successfully logged in to your identity provider, you will be redirected to a page like this:
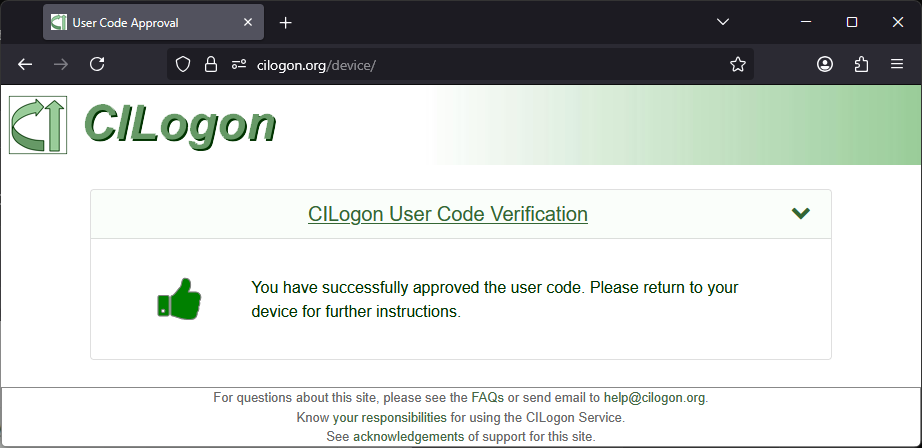
Now, return to your terminal. You will be asked for the password to your local configuration file. Enter the same password you used earlier.
The OSDF client configuration is encrypted. Enter your password for the local OSDF client configuration file:
What if I use the wrong password?
If you enter the wrong password for your local client configuration file, you'll get an error like
Failed to get reset password: pkcs8: incorrect password and the pelican command will fail.
Rerun the last pelican command again to retry.
- If you want to change the current password, run the command
pelican credentials reset-password. - If you don't remember your password and need to reset it, email support@osg-htc.org to request instructions.
Once you've reached this point, the data transfer itself will be pretty quick if you are using the example file above. For larger files, you may see a progress bar.
If no errors are reported, then the upload command was successful.
In case of errors
If there is an error message, the message should explain what the problem is. Most common is that you (or more accurately, the identity you authenticated with) do not have the permission to upload to that namespace.
- Double check that the OSDF address you are using is correct
- Confirm that you are using the correct identity for the upload
If you are still having issues, email support@osg-htc.org.
Error fetching checksum
There is currently a bug where this message may be printed even if the upload was successful. Follow the instructions below to check whether your upload was successful or not.
Confirm upload
There are a couple of ways that you can confirm the upload was successful.
-
If you have access to the data storage connect to the namespace, you can use that to confirm the upload was successful.
-
If your namespace has "listings" enabled, then you can confirm the upload by running this command:
pelican object ls osdf:///YOUR_NAMESPACE/test/upload-test.01.txtNote that because "listing" is a separate capability from "write", you will have to repeat the authentication step with CILogon. This separation is necessary so that others can use the "listing" capability without being given "write" capability.
-
Finally, you can use Pelican to download the object. For instructions on how to do so, see the Download data guide .
Future uploads
The credential that Pelican generated on the first upload will be kept in your local client configuration. These credentials typically have a lifetime of about 15 minutes, though your namespace may be configured differently.
If you try to put another object to your namespace while you have an active credential,
you will not need to repeat the CILogon authentication.
You may or may not be required to enter the password for your local client configuration,
depending on how your device is set up.
If the local credential has expired, then you will have to repeat the CILogon authentication the next time you try to put.
Caching
The OSDF uses an extensive system of caches to distribute the load of repeated downloads. In order for this system to work, the OSDF assumes objects are immutable.
While you technically can overwrite an object on upload, the danger is that the object in the data storage no longer matches the object in the cache. This leads to "undefined" behavior in the OSDF system.
When there is a mismatch
If there is a mismatch between an object in the original data storage and in the cache, then when the client downloads the object it may receive:
- the old version of the object (from the cache)
- the new version of the object (from the origin)
- or a mix inbetween! (the cache began updating during the transfer)
A long term goal for the underlying Pelican software is to address this issue.
For more information on caching, see this section in the Concepts guide.